Image SEO: A Beginners Guide
What is Image SEO?
Image SEO involves enhancing the visibility and relevance of images on a website to improve their ranking in search engine results. Image SEO is essential to onsite SEO because search engines like Google increasingly consider images when ranking web pages. To effectively optimize images, it’s important to focus on several key factors that will be covered in the best practices section of this page.
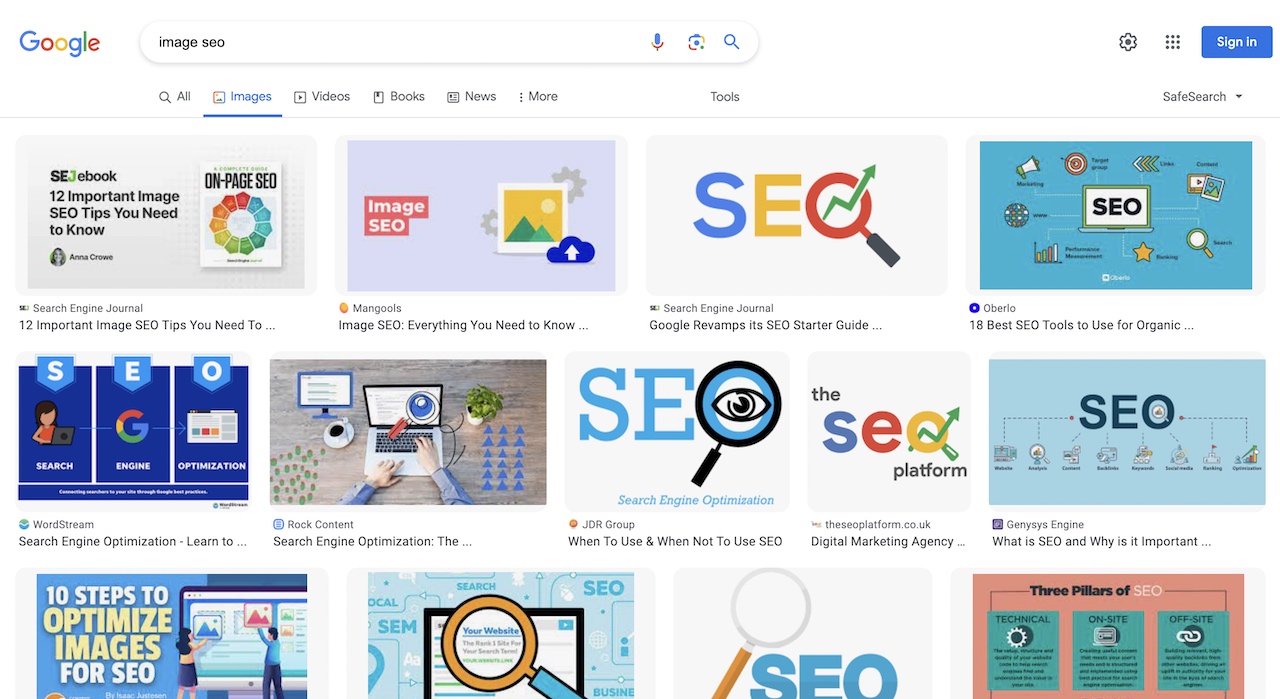
For example, images & websites can be discovered through Google's image search, if the images are properly optimised:

Why is Image SEO Important?
There are many reasons why image SEO is essential to the overall SEO as well as getting additional traffic to your website.
Increased Engagement & Reduced Bounce Rates
Not only do images engage more effectively than text, but because of this engagement, it keeps visitors longer on the page and decreases bounce rates, which both are positive ranking signals to Google and other search engines.
Increased Organic Traffic Potential
In addition to providing more visibility in search engine image results leading to potentially more traffic to the site, having optimized images helps create better context for the page content, which will aid it in ranking higher in the search engine results pages (SERPs). Higher rankings in turn usually lead to increased organic traffic as well.
Better Mobile Optimization
When images are responsive and optimized for mobile devices, they will look better, load faster, and engage the user more, which can help with overall page rankings & increased organic traffic.
Increased Accessibility & Inclusivity
Optimizing images for SEO also enables people with visual disabilities to still understand the images on the page, even though they might not be able to physically see them. This creates an inclusive environment and allows for more people to engage with the content.
Appear In Rich & Featured Snippets
Combining certain structured data elements with images, allows these images to appear in rich snippets and featured snippets within the search results pages, which can increase click-through rates (CTR) leading to more organic traffic to the website.
Image SEO Best Practices
The following collection of image SEO best practices will guide the beginner to make sure their images are SEO-friendly, from before the images are uploaded, to after they are on the website.
Choose Original Images
Original images are essential for standing out in a crowded online landscape. They provide authenticity and uniqueness to your content, making it more appealing to users and search engines. Using stock photos or widely circulated images may result in a less engaging and less relevant user experience. The more engaging, the more likely a visitor will click on the image in the image search, or keep reading the content piece that has the image(s) in it.
Choose the Right Image Format
Once the image has been selected, it’s important to understand which image format is appropriate for web. This is crucial for optimizing both image quality and loading speed.
Some of the most common image types are BMP, GIF, JPEG, PNG, WebP, and SVG.
Below is a quick summary of each type, and what they are ideally used for:
BMP: Rarely used for web due to large file sizes but can be suitable for certain applications.
GIF: Offers basic SEO benefits with support for transparency and animations but has a limited color palette
JPEG: Ideal for photographs and complex images but not suitable for transparency. Widely used for its efficient compression, positively affects SEO by improving page load times.
PNG: Suitable for images with sharp edges, text, and transparency. Provides SEO advantages with lossless compression and transparency support.
WebP: Becoming a popular choice for the web due to its efficient compression and support for transparency. Designed for the web, excels in SEO performance due to its efficient compression and transparency features.
SVG: Perfect for icons, logos, and scalable graphics on the web, particularly in responsive design contexts. Offers strong SEO benefits through scalability.
In summary, WebP and SVG are top choices for SEO, with JPEG and PNG also valuable, while BMP and GIF are less suitable for web usage and SEO due to their limitations.
Give Your Image File a Descriptive Name
A descriptive file name is more than just a label; it's an opportunity to provide context to search engines and users. Use clear, relevant, and concise file names that accurately describe the image's content, making it easier for search engines to understand and index your visuals.
For example, the below image has the file name "Hike-Keyword-Research-Tool.jpg", which is appropriate for what the image is about:

Resize Your Images to the Appropriate Scale
Properly sized images improve user experience and page loading times. The larger the resolution, the larger the file size, which means it will take longer to download. Oversized images can slow down your website, while undersized ones may appear pixelated or blurry on high-resolution screens.
Adjust image dimensions to match the intended display size on your web pages. You may have to create a few different sizes, depending on which device your visitors use. Ideally, 3 different types - Desktop, Tablet, and Mobile.
The exact size depends on many factors, whether the content width is fixed (e.g. 800 pixels wide), or full-width that expands to the width of the screen size, in which case if it’s a desktop monitor think about the most common monitor resolution (HD - 1280px, FHD - 1920px, or 4K - 4096px). If in doubt, for desktop, go with 1920 pixels as it should provide a good balance of size versus clarity.
Compress Your Images for Faster Loading Speed
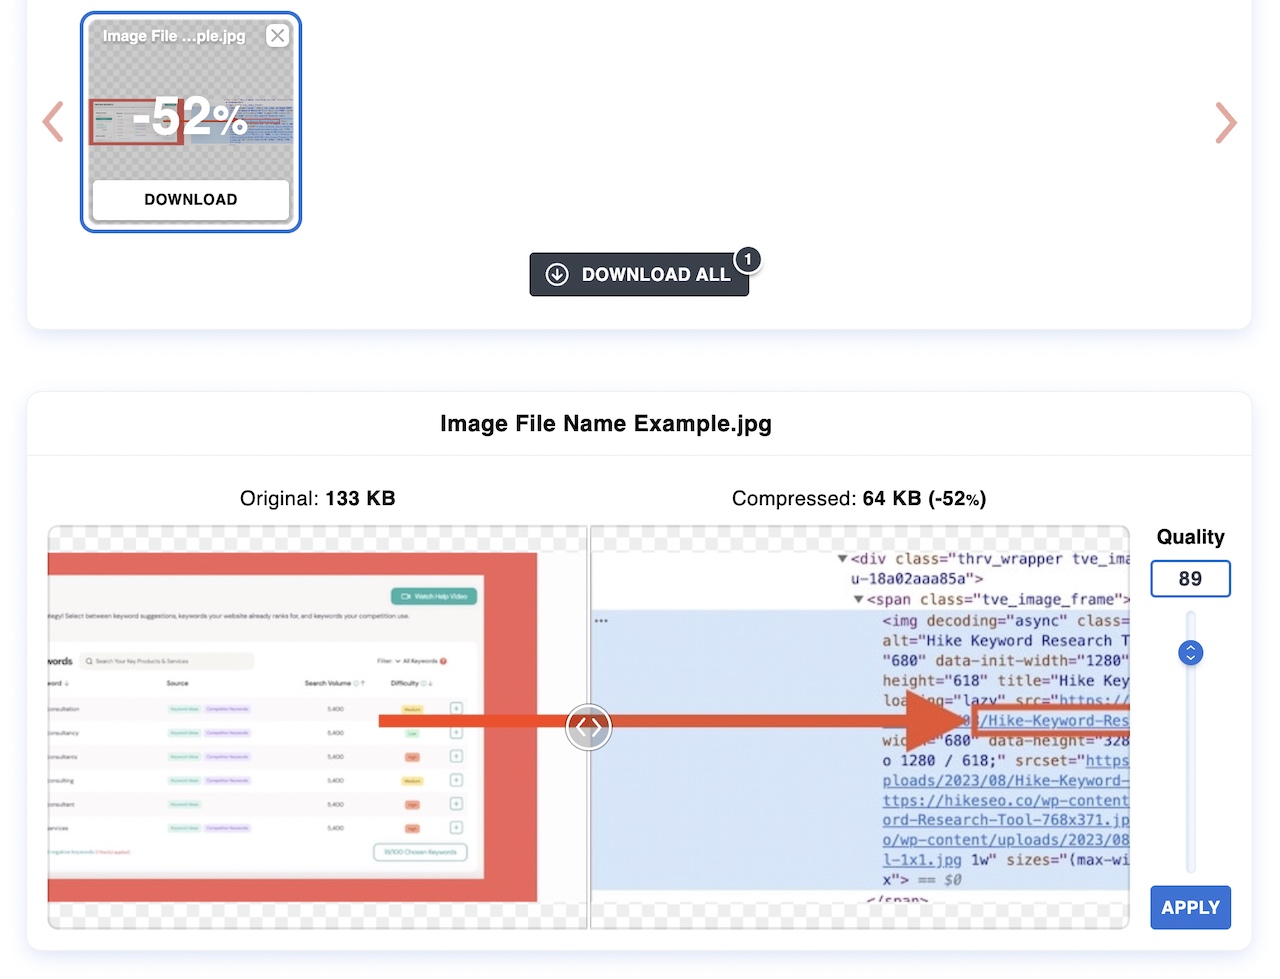
Once the image has been resized, the next step is to compress it to reduce the file size. Image compression reduces file size while preserving image quality. Smaller image files load faster, which is crucial for improving website performance and user satisfaction. Various tools and plugins are available to help you compress images efficiently.
If the images are being optimised before uploading to the website, tools like ImageOptim or websites like Image Compressor, Squoosh, JPEGmini, jpeg.io or Kraken.io can be used.
For example, using Image Compressor, the image that was uploaded was compressed by 52% smaller in file size without sacrificing much quality.

If images are being directly uploaded to WordPress, then plugins such as EWWW Image Optimizer, ImageRecycle, Optimus Image Optimizer, ShortPixel, TinyPNG, WP Smush, or Yoast SEO can be used to compress images on upload.
Remove any EXIF Data
EXIF (Exchangeable Image File Format) data contains metadata about an image, including camera settings and location information. While EXIF data can be useful, it's often unnecessary for website images and could pose privacy risks. Removing it reduces file size and ensures privacy, making your images more streamlined for web use. Many image compressor tools have this feature as well. Otherwise, searching “EXIF remover” on Google highlights many alternatives.
Add an Image Title
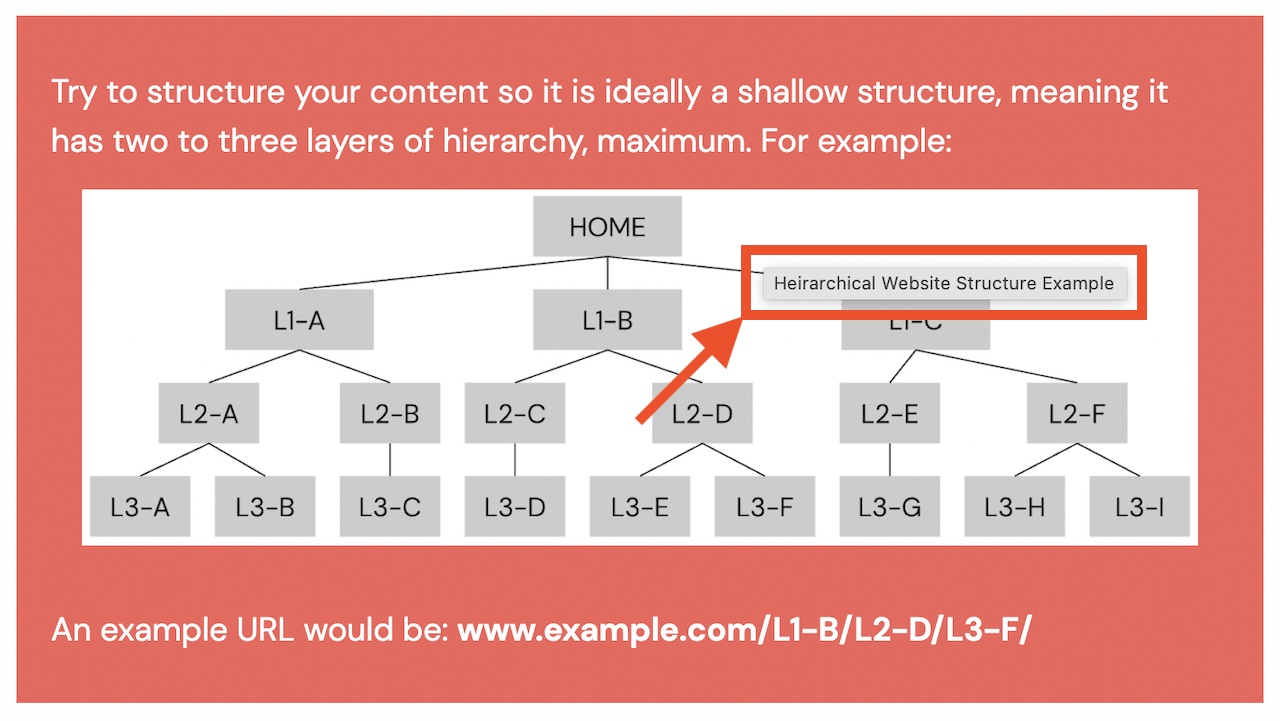
An image title serves as a tooltip or hover text when users place their cursor over an image. It's an opportunity to provide additional context or a brief description of the image's content, enhancing user engagement and accessibility. It’s often common to add a call to action to an image title, especially if it contains a hyperlink.
For example, when the mouse pointer is hovered over the below image, the image title shows in a small tooltip "Heirarchical Website Structure Example":

Add Image Alt Text for Accessibility & SEO
Alt text (alternative text) is essential for accessibility as it provides a textual description of an image for screen readers and visually impaired users. Additionally, search engines use alt text to understand the content and context of an image, improving your SEO efforts. The key is to be as accurate and relevant to what is in the image as possible. Write the alt text as if you were describing the image to someone who can’t see it.
For example, if an alt text were to be written for the below image, and it had to be described as accurately as possible, it could read something like: "Two hands on laptop sat on table with an seo analytics software open".

Use Captions to Describe Images (Optional)
Captions are optional but can be valuable for providing more in-depth descriptions or context for images. They can be particularly useful for conveying information that isn't apparent from the image alone, such as explaining a chart or graph.
Add Image Dimensions to Avoid Layout Shifting
Specifying image dimensions in your HTML code prevents the "layout shift" phenomenon, where content on a page shifts as images load. This ensures a smoother and more predictable user experience.
Use Responsive Images
If your CMS allows responsive content editing, then different-sized images can be added for each device type. This will ensure that images adapt to various screen sizes and that your images look good and load quickly on both desktop and mobile devices, enhancing user experience and SEO.
Try Lazy Loading
Lazy loading defers the loading of images until users scroll down the page, reducing initial page load times. This can significantly improve website performance, especially for pages with multiple images. Using a page-speed plugin in WordPress or enabling this feature in your CMS can improve the loading speed of web pages, especially those with a lot of images.
Serve Images via a CDN
Content Delivery Networks (CDNs) distribute images across multiple servers globally, reducing server load and improving image loading speed. CDNs also enhance website security and reliability. This is most relevant for those with self-hosted websites where the images are typically hosted on a single server. If you already use a managed platform like SquareSpace, Wix, WordPress.com or similar, then chances are the images are already served from a CDN.
Create an Image XML Sitemap
An Image XML sitemap is a separate sitemap file dedicated to your website's images. It helps search engines discover and index your images more efficiently, potentially improving their visibility in image search results. If you already have a WordPress SEO plugin like YOAST or Rankmath, or are using a managed platform (like Wix or Squarespace), then chances are, an image XML sitemap might already automatically created. The best way to check is to look in the Sitemap Index file (yourwebsite.com/sitemap_index.xml). If it's not there, it might first need to be configured in your plugin or platform.
Add Structured Data
Structured data markup, such as Schema.org, can provide search engines with additional context about your images. This can result in your images appearing as rich snippets in search results, increasing click-through rates. Depending on the entity type, many have image attributes where the image will be then used in search engine results.
Configure OpenGraph & Twitter Cards
OpenGraph and Twitter Card metadata enable you to control how your content appears when shared on social media platforms. Including images in these tags ensures that your visual content is presented attractively when shared on platforms like Facebook and Twitter.
Hike & SEO
When it comes to optimizing your content for SEO, Hike is the perfect platform for beginners, small businesses, and agencies who have small business clients. It uses Artificial Intelligence (Chat-GPT4) to suggest keywords to research, content topics to write about, and even writes a draft as a starting point (using the Content Wizard), which saves the user time and makes overall SEO efforts easier.
If you haven’t yet tried Hike, sign up today and see how easy it is to become empowered to take control of your SEO.