Installing Google Analytics
Installing Google Analytics 4 is quite simple, however, for the beginner it may still seem daunting. That’s why we’ve put together this quick step-by-step guide to show you how to install it properly.
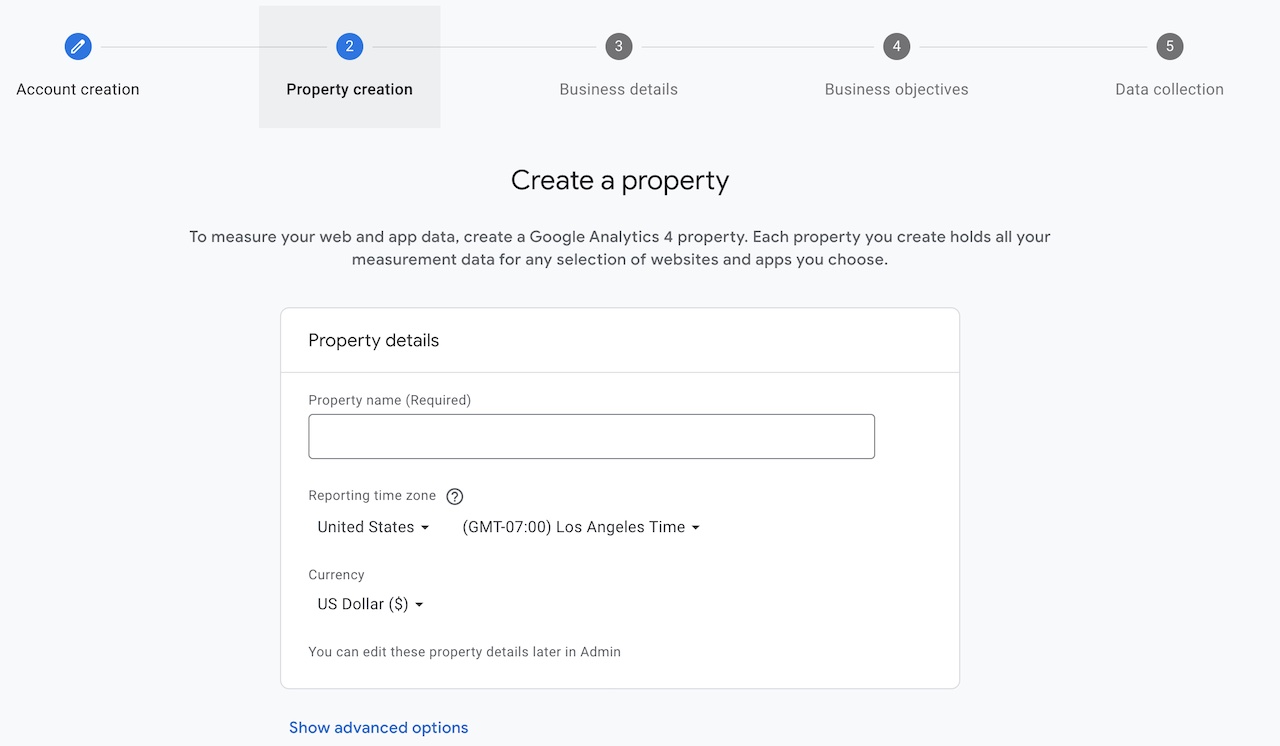
Step 1: Create a Google Analytics 4 Property
While creating a property, you will be asked to input details about your business so you can accurately track your analytics.

- 1Go to the Google Analytics website and sign in with your Google account.
- 2Click the Create Property button.
- 3Select Web as the property type.
- 4Enter a name for your property and select a time zone.
- 5Click the Create button.
Google Analytics will generate a tracking ID for your property. Copy the tracking ID.
Step 2: Add the Tracking ID to Your Website
Depending on which platform you use, the following steps could vary.
- 1Go to your website and open the area where you can add tracking scripts.
- 2Paste the tracking snippet within the <head> tag.
If in doubt, go on Google and search “How to add Google Analytics script to <CMS Name>” where you would replace <CMS Name> with your platform, like WordPress, Wix, Squarespace, etc.
Step 3: Verify Your Property
- 1Go to your Google Analytics account and click the Admin tab.
- 2In the Property column, select the property you just created.
- 3Click the Verify button.
Google Analytics will give you instructions on how to verify your property. Follow the instructions and Google Analytics will confirm that your property has been verified.
Step 4: Start Tracking Your Website Traffic
Now that your property is set up, you can start tracking your website traffic. Go to the Reports tab and you will see a variety of reports that you can use to track your website traffic.
Below are some of the reports that you can use:
You can use these reports to track your website traffic and learn more about your website visitors. This information can help you improve your website and marketing campaigns.
Here are some additional tips for using Google Analytics 4:
Google Analytics 4 is a powerful tool that can help you track and analyze website traffic. By following these tips, you can get the most out of Google Analytics 4.
Read more information about Google Analytics for beginners to learn more.